Tips, Hints and Secrets
for Happy Healthy Thyme Plants

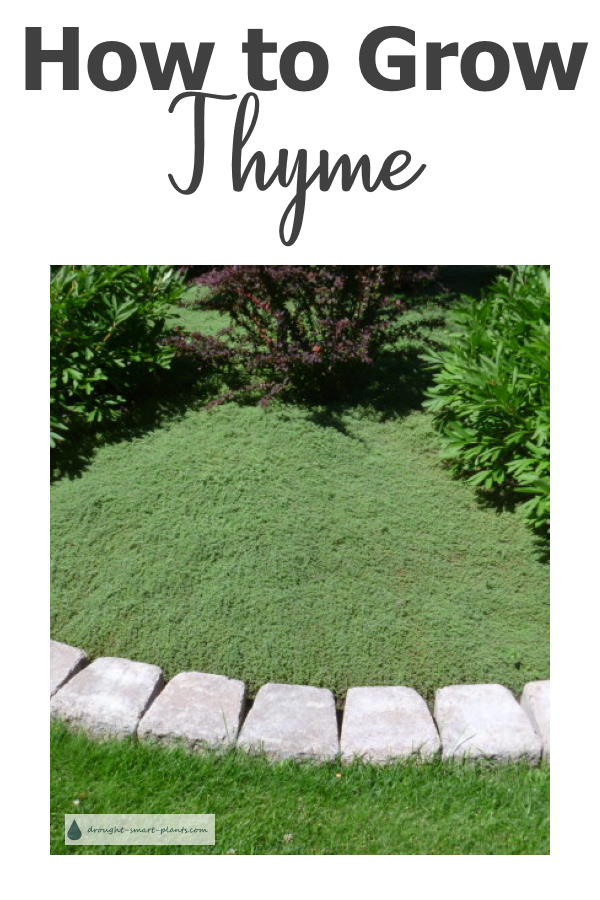
Thyme is one of those hardy drought tolerant groundcovers no garden should be without. Planted between pavers or bricks in a patio, or for a thyme lawn they are unbeatable for their drought tolerance and beauty.

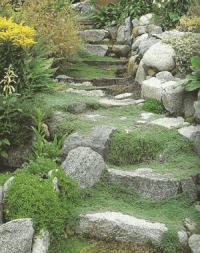
A patio or walkway of flagstones with thyme softening the hard outlines will give your garden an established and romantic ambiance very quickly.
A rock wall will also provide the perfect conditions of fast drainage, yet allow a tiny amount of moisture under and behind the rocks.
The thyme will cascade down the wall to soften it beautifully.
On top of how beautiful it is, it’s also drought tolerant.
Tips on How to grow Thyme in your Garden
To grow thyme in heavy clay soils add some gravel to allow rainfall to percolate away. Also remember that rock walls and raised beds are thyme’s best friends!
Most important is the soil type that you have. If your garden is clay or loam type soil with slow drainage, your thyme won’t be happy unless you take some steps to make it quicker to drain, as thyme hates to have wet feet.
In sandy or gravel soils, you will have the best success.
Thyme loves good drainage.
If you add a small amount of steer manure, compost, worm castings or other organic matter to the soil before planting and mulch around the crown of the plant with a rock mulch, either turkey grit, small gravel or lava rock your thyme will reward you with excellent growth.

Growing thyme isn’t difficult, if you can give it the right type of soil, and stay away from the watering can.
Thyme will grow happily in many climates, and especially likes to be covered with a blanket of snow in the winter. Make sure you don’t use a salt based ice melting product on paved areas planted with thyme, as this can kill it.
How to Grow Thyme Between Rocks or Paving Stones
In most cases when building your patio, you will have provided good drainage already by putting sand down to set the patio blocks or bricks on, so additional sand to plant into isn’t necessary.
Ideally, you can install the thyme plugs at the same time as you put down the pavers.
If the roots are winding around in the bottom of the plug as you take them out, trim them off with a pair of scissors to make them branch out. You can also trim the top growth in the same way, and they’ll bush out quicker.
Planting into a wall is easiest while actually building the wall, or poke the roots into cracks and crannies with a blunt stick like a pencil or chopstick. Don’t worry about hurting the plant, they quickly make new roots to replace any damaged ones.
Sweep some small gravel or sand into the gap, water, and you’re good to go. Thyme grows very well under the warmth of clay bricks, concrete blocks or rocks in a wall.
Most of the small creeping thyme varieties will fill in a 30 cm square (one square foot) area in about three seasons, depending on your climate. You can estimate how many plugs to plant by figuring out the approximate area (width x length) to come up with the number you’ll need.
There’s more about growing thyme among patio blocks here.
How hardy is Thyme?
Most thyme species will survive to around Zone 4 USDA or colder; the drier the soil, the better. In areas where they get winter wet or ice, they will keel over quickly.
Don’t worry if your number isn’t exact, as you will be able to trim the thyme easily to keep it from covering over it’s neighbours.
Sometimes you want them to blend together, such as if you’re making a thyme lawn or steps.
In that case, estimate about 30% more plugs and plant them closer.
It will still take about two to three seasons to fill in enough to cover any soil.
This also means that you’ll still have to weed until the thyme is thick enough to stop the weeds from germinating – helpful hint; use a kitchen fork to loosen the weeds if they’re right amongst the thyme roots.
Tamp the thyme back down when you’re done, it won’t bother them at all!
Need more plants to fill the space? Put a rock on some of the longer tendrils, and allow them to root; cut them off and transplant them carefully, and water them until the roots get established.


