Create Your Own Unique Succulent Topiary
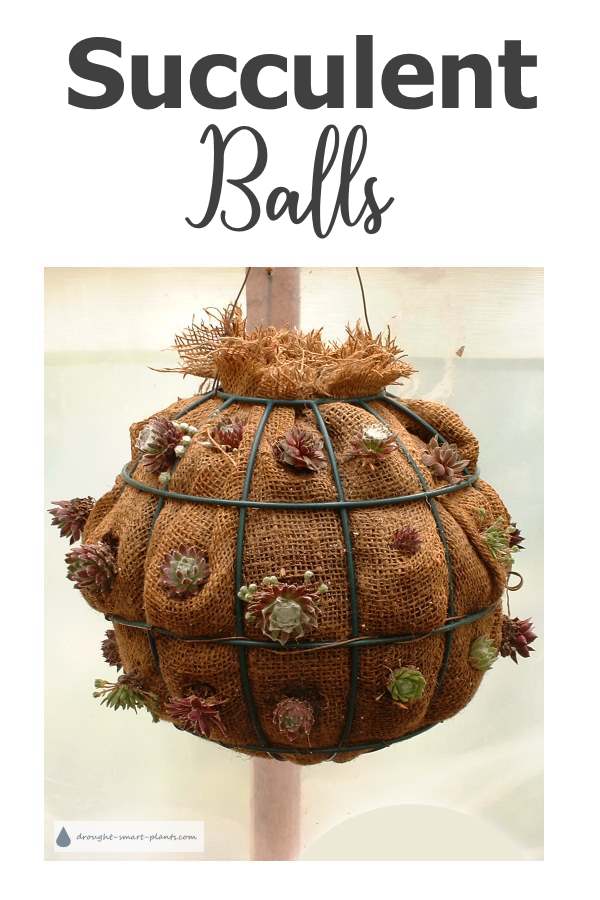
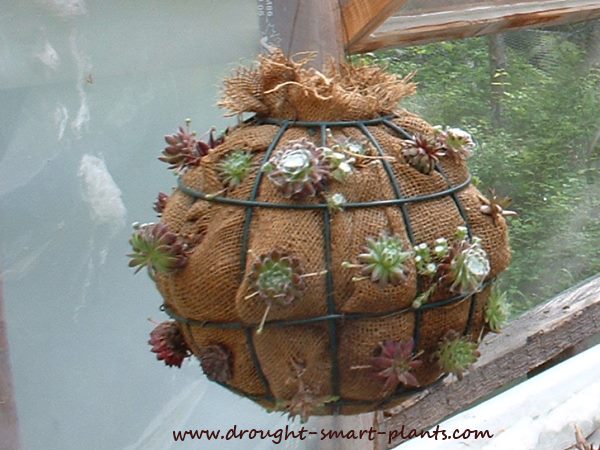
Topiary or wire balls planted with succulent plants are drought tolerant, care free and require almost no maintenance – if easy care, unique and rustic garden focal points are your favorite things, succulent balls might be in your future.

They can be hung from a garden gazebo or porch, or displayed as part of a bird bath filled with Sedum, Sempervivum or other hardy succulent plants.
Placed in a hypertufa pot to resemble a topiary, they make an eye catching display to show off the many forms of Jovibarba.
They’re also known as globes or succulent spheres, but whatever you call them, they’re a unique and interesting project, and I can guarantee that your well filled out succulent ball will be the envy of all your friends and neighbors.
If your aim in life is to keep up with the Joneses, here’s your chance to blow them out of the water.
How to Make a Succulent Ball
Using a welded wire frame is the easiest way to build your succulent ball.

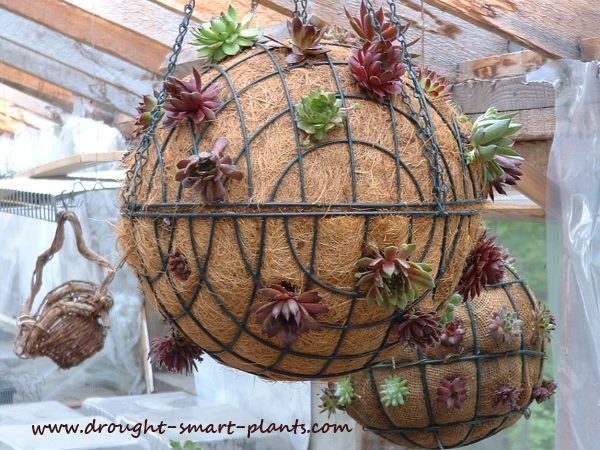
For an extra large succulent globe I sometimes use two wire hanging baskets wired together – make sure you use a strong chain to hang these up as they are much heavier than a regular basket.
Coco fiber (coir) liners are pre-formed to fit in several sizes. Or use burlap, canvas or other cloth, lining the bottom third of the ball inside with plastic – cut or poke a hole in it to let out excess water.
Fill the wire frame with potting soil – I use primarily Sunshine Mix #4 as it has a water retaining polymer, making the succulent ball even more maintenance free, but you can use any kind of soil specified for cactus, as it has better drainage.
Make sure the potting soil is firmly tamped down as it will settle. Because the sides are wire, garden spheres like this that are lined with only coir dry out quickly, causing the soil to shrink, so overstuffing it is important – don’t skimp on the soil.
Don’t Water!
Stab a sharp knife into the ball and insert cuttings of Sedum, or the stolon ends of Sempervivum chicks.
It’s important not to water at all until the cuttings start to form roots, usually in a week or even two weeks. Let them start to grow roots to seek out moisture.
I’ve had good success with using chicks that have only a few roots, pinned in place with a hairpin of wire bent in half.
They root quickly through the summer, and then you don’t have to damage the coir to get them in place.
After the cuttings start to form roots and become more firmly embedded, you can start to water, and after a month or so, fertilize with diluted compost tea.
Care of your Succulent Ball
Requiring almost no care except for the occasional watering in extremely dry conditions, your succulent ball will flourish with twice yearly watering with compost tea.
You can add slow release fertilizer in the form of worm castings sprinkled on the top.

Shown hanging from the sturdy rafters with equally robust chains, this is not a recommended way to display large sized Succulent Balls – the weight of the soil when they’re watered is too much…
Winter Care
Generally, if the plants in your succulent ball are hardy succulents, simply take the ball and place it on the ground and cover with leaves if you don’t normally get good snow cover.
You can make a frame of chicken wire to stop the leaves from blowing away. This will be enough to protect the plants for the winter.
If you have a lot of voles or mice, use hardware cloth and make a completely enclosed frame to stop the vermin from chewing on the lining or the plants.
If you’ve used tender succulent plants such as Echeveria take the ball inside and display in a bright window, turning it periodically to prevent the plants stretching towards the light.
Water sparingly until new growth appears in the spring.
Your succulent ball should last at least a season or two without any major care, after that the plants may need to be taken out and reinstalled if they are getting too crowded.
See the tutorial on how to make a Succulent Sphere where you can also purchase a selection of wire topiary forms.

