Grow more Geraniums
The genus Pelargonium is varied, but the plants all have lush bright flowers. Although they are perennials, they are usually grown as annuals in the northern hemisphere.
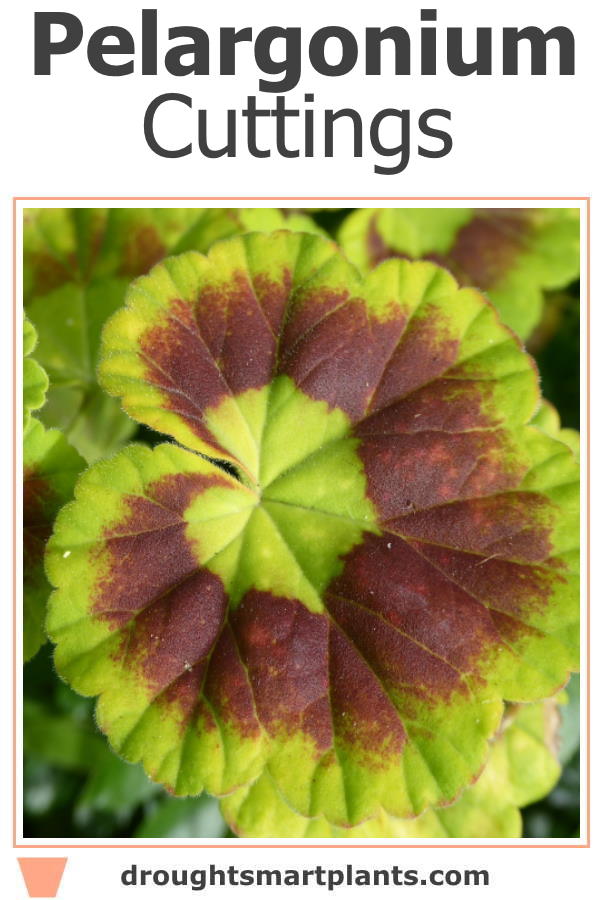
You will know them to see them; they are those gorgeous flowers that drape over the sides of planters and pots, or trail from a hanging basket, or fill the center of a container and have ‘zonal’ leaves (with a horseshoe shape of darker red).
Whichever species they are, they’re going to wow you with the sheer number of their flowers, and in some cases, the brightly variegated leaves.
Huge greenhouses grow millions of them from seed every year to supply your local garden center. They grow just as easily from cuttings, with a few little tricks to get them rooted quickly.
The long stems of Pelargonium peltatum, the ivy geranium, can produce several cuttings each.
If you have one plant, expect to multiply that by several.
This is a good thing, because a hanging planter is much more lush with several cuttings planted together in the center.
Here’s how to grow Pelargonium from cuttings;
One stem will produce several to many cuttings, but it’s best to actually remove an even amount from each stem on a mother plant. This is a welcome reprieve from flowering for them, and also encourages growth to start from lower down.
Make sure you know which end of a cutting is down on the plant. Planting them upside don’t will be disappointing for you!
Always use a sharp pair of scissors or pruners to cut the cuttings. Anvil pruners or a dull pair of scissors will mash the stem, leaving it wide open for opportunistic pathogens and fungi.
The timing is best when the growth of the plants is finished, or just starting. The stems should be firm, without any mushy or brown spots, the leaves should preferably be small.
In the early spring, just before the plants start growing, is ideal. This makes the new growth that follows more compact and lush.
In the fall, before you overwinter the plants, is also good.
Tips and Hints for rooting Pelargonium cuttings;
- Each cutting must have a leaf, and part of a stem. Some cuttings, especially those from Regal geraniums, tend to be ‘blind’ or lack a bud. What does this mean? The cutting may root, and it might stay alive, but without a bud where new growth will emerge, it will never grow.
- Sometimes the leaves are too big – it’s totally fine to cut them in half, it won’t hurt the plant at all, and still give enough energy for the cutting to root.
- Timing is important – most geraniums root fastest in the summer while they’re still actively growing – whenever you take cuttings, trim off any weak or spindly top growth to prevent it from rotting.
- Take off any blooms or buds as these will suck the energy from the plant and prevent it rooting.
- Callousing the cutting is important – even though it seems counter intuitive. Leave the cutting to dry and seal up the cut surfaces overnight. Then stick the cutting into the soil, cover it with a dome, and wait for a few weeks.
It’s also important to use sterilized or pasteurized potting soil so the cutting doesn’t rot before it has a chance to root.
Bottom heat is optional. Some propagators swear by it for many plants, but for Pelargonium, it’s not essential.
Use a rooting hormone, but don’t cake it on. Dip the dry end of the cutting into the powder, then tap off the excess before planting it. Too much powder will just make the end of the cutting rot.
Propagating Geraniums – Step by Step
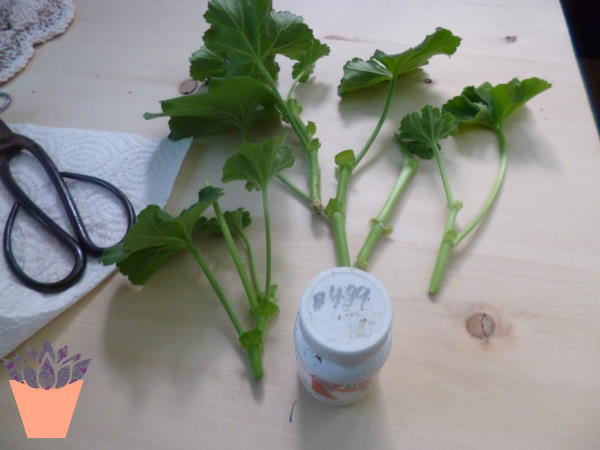
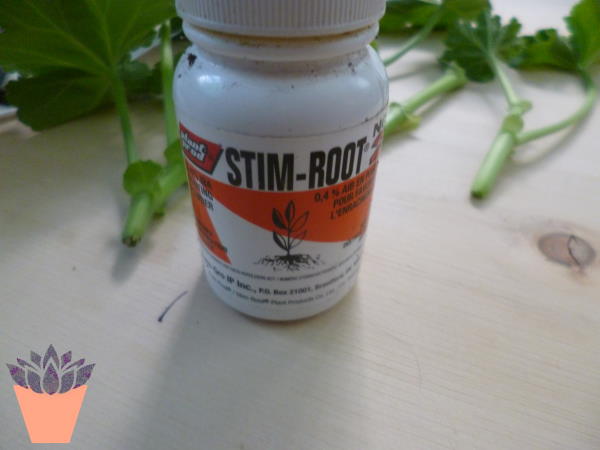
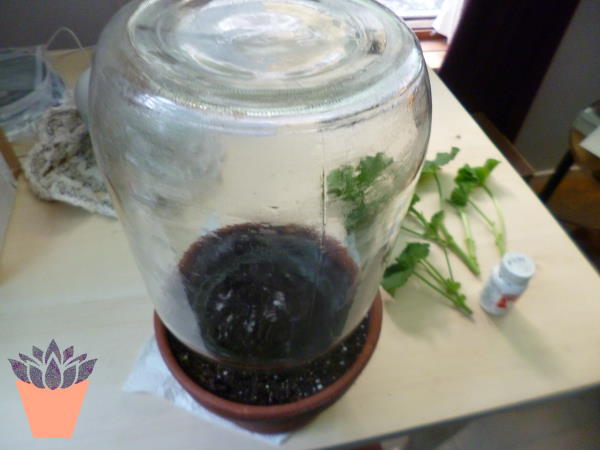
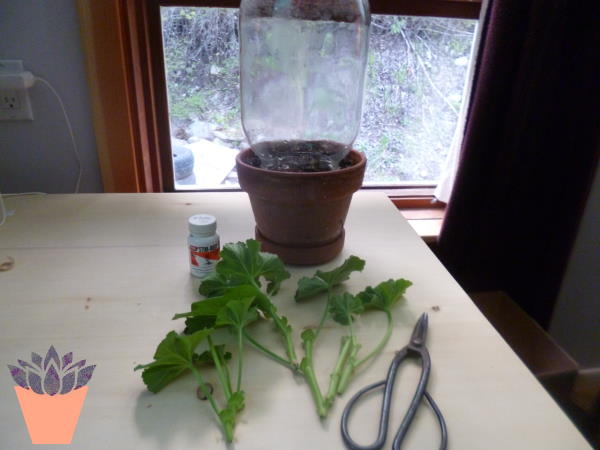
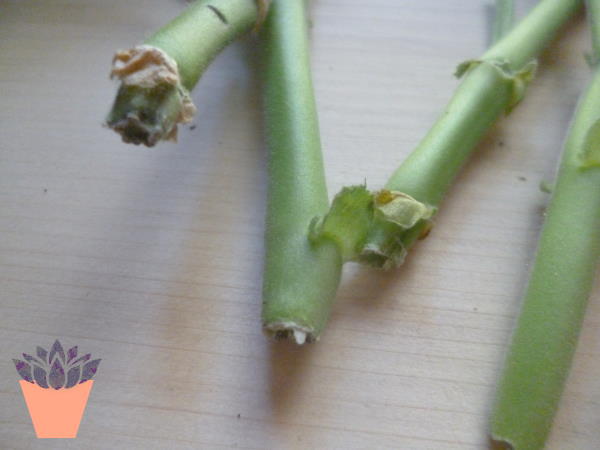
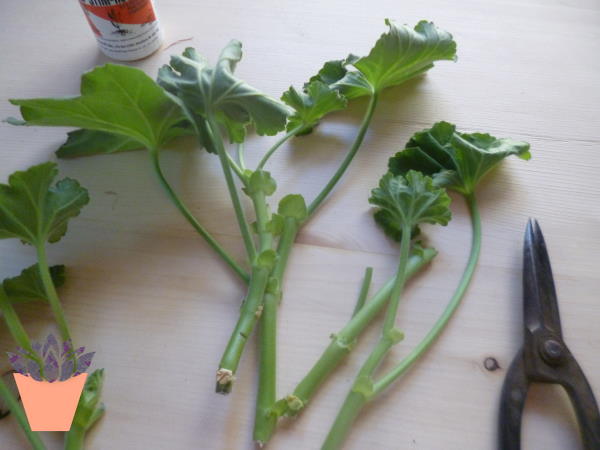
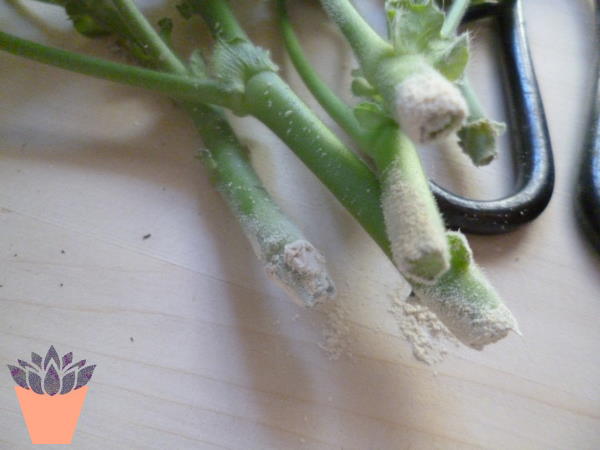
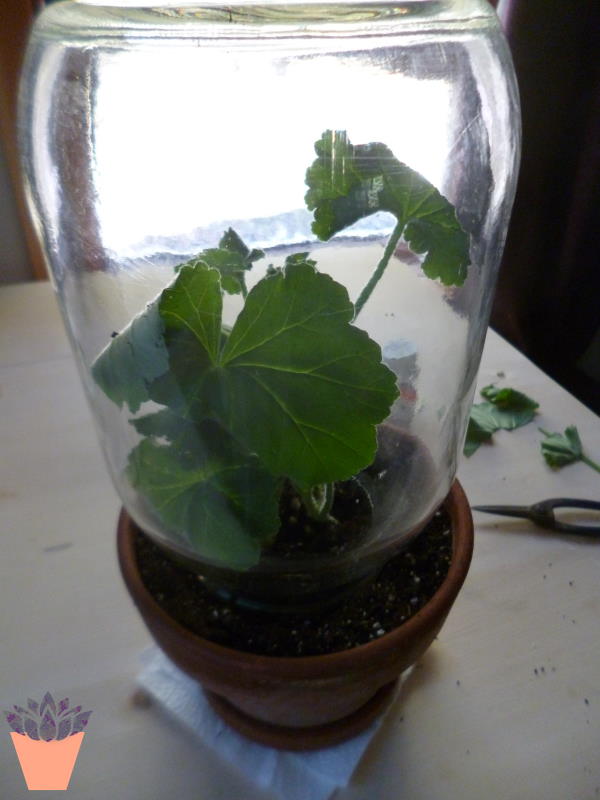

Pro Tip; don’t have a jar? Put the pot of cuttings inside a clear plastic produce bag – blow into it before you tie it – commercial greenhouses use a CO2 emitting system, but your breath has carbon dioxide in it.
The cuttings will root faster!
Geranium Propagation Problems
It’s a good thing that Pelargoniums produce a lot of growth, because figuring out the best timing can be difficult.
Problems like Botrytis (grey fuzzy mold) can be prevented by making sure the container, dome and any cutting implements are clean, and that the cutting itself is raring to go. Slow propagation leads to rot, every time.
Sometimes the base of the cutting will rot and turn brown. This is usually a result of not callousing the cutting before you ‘stick’ them. It can also be the result of being not warm enough.
A filtered sunny window is best, where it won’t get too hot or too cold.
After they’re well rooted (or resist when you try to tug them out) repot them into individual pots, or right into their final container.
They’ll take a little while to acclimatize, but then they’ll take off like nothing ever happened!

