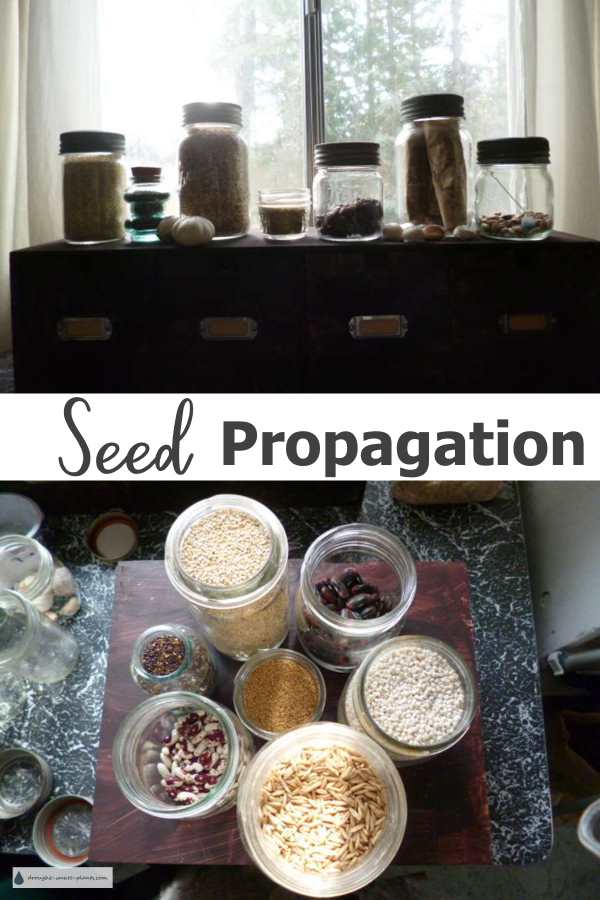
Growing more plants using the winter sowing method
Many hardy succulents require a stratification period, so sow them in milk jugs for a winter sowing project.
March is the last month that they have enough time to break down the seed coat with cold temperatures; most species of cold hardy succulents require at least six weeks of close to or below freezing.
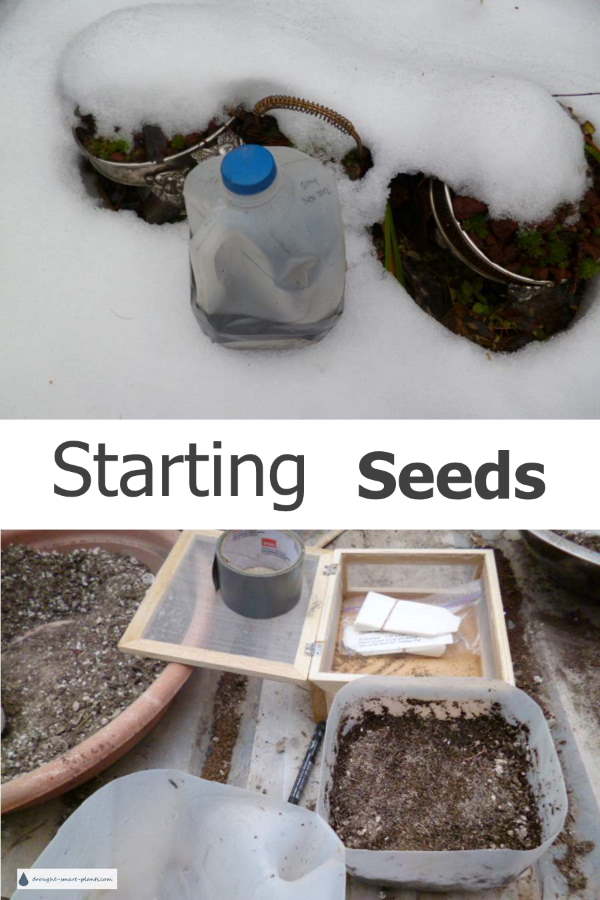
Here is some information on how to achieve that, using some recycling made into containers, and a bit of potting soil.
It’s important to use sterilized potting soil for this, in the closed atmosphere of a milk jug, moss spores and fungus can quickly germinate and take over the tiny seedlings.
Find out more about pasteurizing soil at home.
To give them the best chance of success, make sure that you don’t overwater your soil, and of course, punch a couple of drain holes in the bottom of the jug, just in case.

Tips for preparing to get sowing;
Slice the milk or water jug in half, leaving a small piece of plastic below the handle to act as a hinge.
I use a razor knife to make a clean cut.
Poke several drain holes in the bottom of the jug, for excess moisture to escape – too much water will drown your seeds and seedlings.
Open up the jug, sprinkle a few handfuls of potting soil in the bottom, lightly scatter your seeds on top, and lightly top with some turkey grit or fine gravel.
This acts as a mulch, to hold the moisture in, and also prevents the tiny seeds from being too wet.
Spray lightly with water, then close up the top, tape with duct tape, and put the cap on.
Place your winter sow milk jugs in a sheltered spot where they can get snowed on and remain out of trafficked areas
It’s important to make sure they won’t be sitting in a puddle when it thaws.
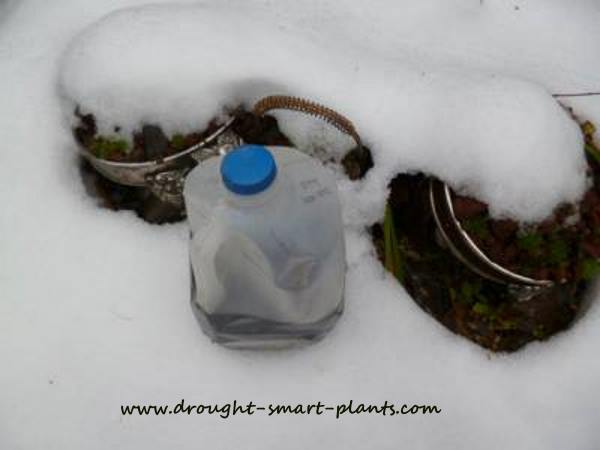
On warmer days, open the lids to let air in. Don’t let the jugs sit in the full sun, which can cook the seedlings.
As the days lengthen, you can take the tape off, and open the jugs during the day, and close them again at night, or when it rains. The opaque plastic of milk jugs allows light in, but protects the seedlings from bright sunlight.
As they get bigger, the top can be cut off entirely, leaving you with a shallow container. The roots will find their way to the bottom of the container, and then it will be time to transplant them into individual pots, or into a nursery bed.
Don’t forget to recycle your container!
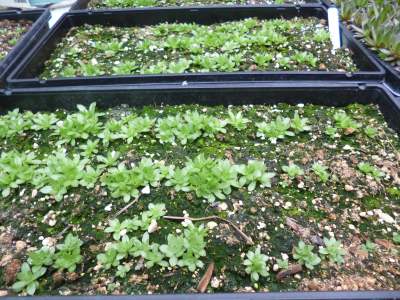
This low maintenance method of growing hardy succulents as well as starting seeds of many other perennial plants could end up being so successful that you’ll be looking for a way to sell your extras.
Many a backyard nursery started out in exactly this way.
So now that you have lots of lovely little plants, what will you do with them? Here are some options;
- Make some succulent crafts like mosaics or spheres.
- Plant a tapestry garden.
- Sell them to other passionate gardeners with your very own succulent plant business.
Fascinated with growing succulents and wanting to learn more? Buy the e-book:
You might like these
Propagation Tools – Best Tools for Plant Propagation
The Best Tools for Plant Propagation; make your job of growing more plants easier…
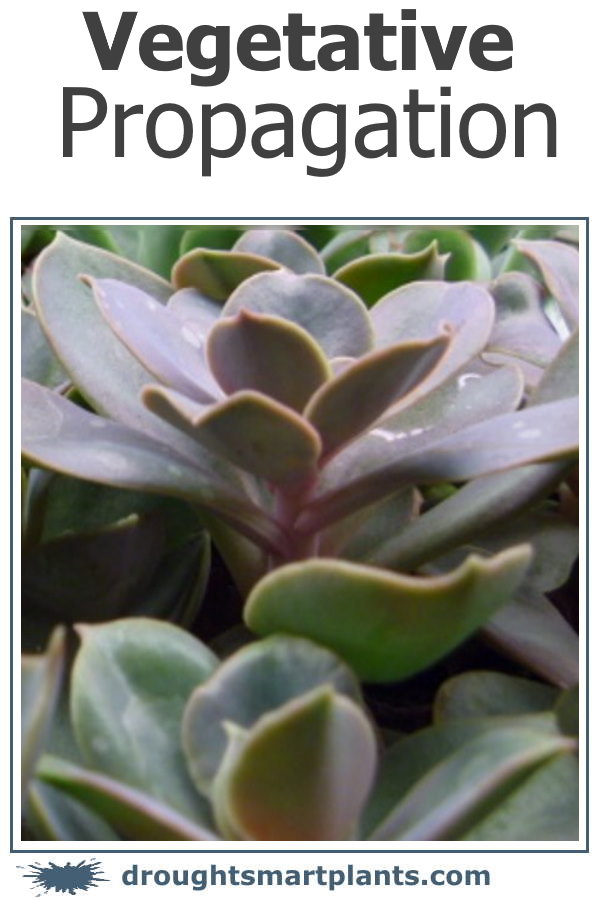
Vegetative Propagation – make more plants with cuttings
Make more plants with Vegetative Propagation; the magic of rooting plants from cuttings; succulent plants can be propagated with a single leaf, or a stem cutting…
Seed Propagation – a seed is a tiny plant, in a box with its lunch
Learning Seed Propagation opens a whole new world for making more plants; unlike taking cuttings, growing succulents from seed is a challenge, and so much fun…

