Tips from the Horticulturist
Sempervivum ship well, as long as they are dried out first. This stops them from growing in transit, and puts them into dormancy.

When you receive them in the mail, you’ll be so disappointed! These don’t look like those gorgeous plants you thought you would get! What is going on?
Don’t worry – they recover quickly, and in a month or so you won’t remember how awful they looked. Take a picture when you get them, because the change is dramatic.
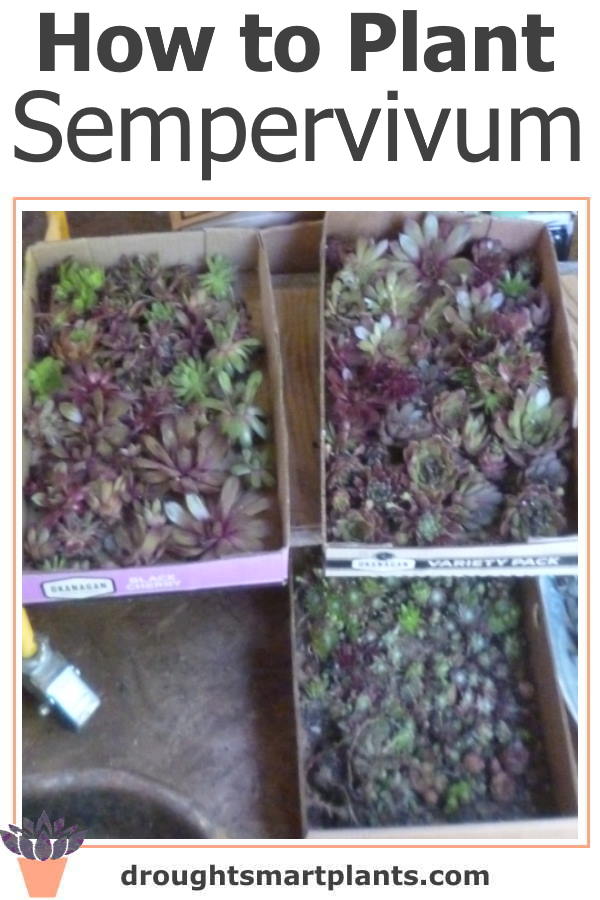
They will arrive all bundled together in a box, upside down and willy-nilly. They will be dried out, and colorless. In fact, they all look the same – I’ve had several people instantly declare that they are all the same kind.
But guess what?
They will adapt quickly and develop into a magical version of themselves, and all are unique. Some are green with dark purple spots on the tips of the leaves, some are fuzzy purple all over, others will be dark red and shiny.
When I ship them, the tiniest species will normally be packaged separately, in a paper bag. That’s because they can be planted closer in the bed or flat.
So dump them out onto a table so you can see what’s going on. If you want, assemble your flats with soil in them. I use Sunshine Mix # 4, with the addition of a small amount of steer manure and some lava rock for drainage.
Mound it up in the center of the flat, and pack it down with your open palm. This soil mix shrinks considerably.
Then start to set your Semps on top of the soil, and don’t worry about any roots. In fact, I normally cut them off entirely. The soil should be dry – don’t water it ahead of time.
This is especially important if you cut off the roots – they will seek out the soil that much faster if it isn’t wet.
Space them out – not only will the plant itself plump out and need room, but they will also produce chicks, in some cases lots of them. Some clumps of mother hen and chicks will be over a foot or two across.
After they arrive…
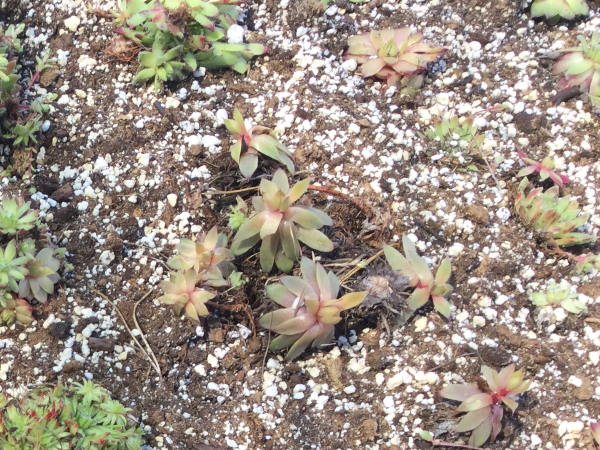
These were the first batch of two that I sent to a friend in Nova Scotia to look after until I get there. We’ll share them out – I’m sure we’ll have fun doing that!

Mary put them into a raised bed filled with Sunshine Mix #4, a favorite soil mix for succulents as it drains well, yet has a water holding polymer to make re-wetting easy.

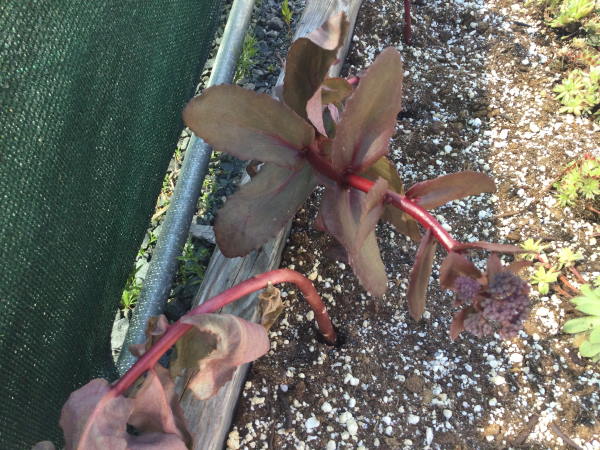
There were a wide selection of different Sedum, including some of my own development. This one is a seedling of Purple Emperor and most likely Autumn Joy that I called Red Leather.

More stressed out Semps – they have been in a box for over a week, so no surprise that they look pale.
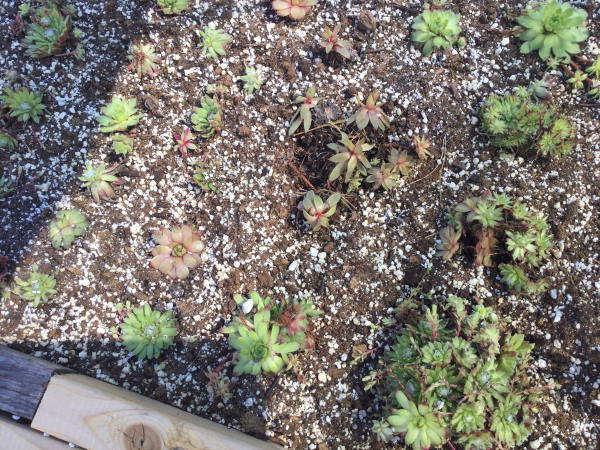
Mary has her work cut out for her, as the second shipment arrived at this time. They won’t need much care until I arrive to collect my portion.
After a few days, you should see the colors returning, and some life coming back to these poor travel stressed plants. Then you can water, just once, and thoroughly.
The Sunshine mix has a water holding polymer, which attracts and holds the moisture, and don’t require multiple waterings to get the soil wet.
If you want to plant directly into the ground, mound up a pile of gravel (pea gravel or screened granite to remove the fines) mixed with Sunshine Mix #4.
This can be directly on top of your garden soil, weeds removed, or on top of cardboard or several layers of newsprint to stop weeds.
If you’re planting them in the garden, find crannies and nooks in a rock wall, or in a specially made bed where they can be admired.
Don’t let them be overshadowed by more vigorous plants.
Set the Sempervivum crowns right on the top of the soil.
Follow the same instructions for watering – wait a day or so until they show signs of recovering. If natural rainfall or a cloudy period is forecast, let nature assist.

