Unique rustic containers to display your succulents
As an Amazon Associate I earn from qualifying purchases.
Other links on this site may lead to other companies that I’m associated with.
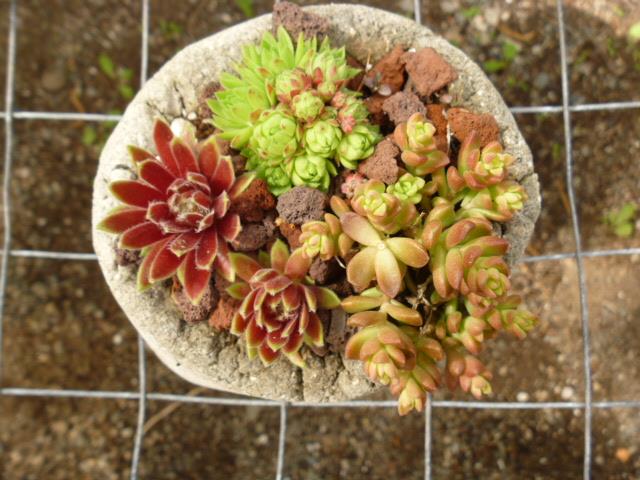
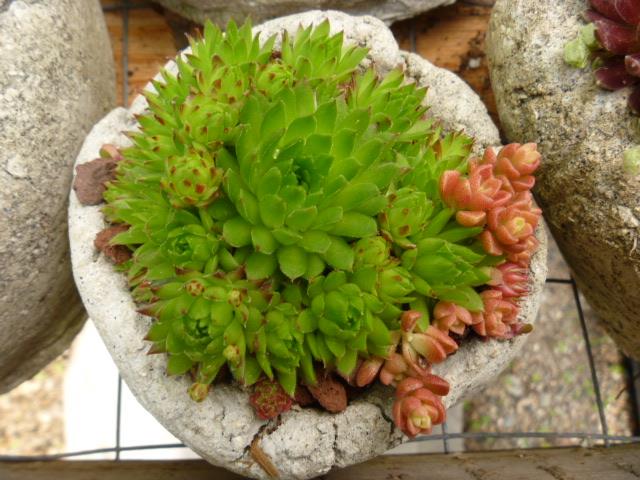
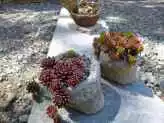
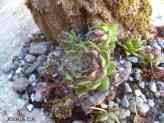
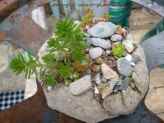
Small hypertufa pinch pots just big enough for a few Sempervivum and a little Sedum to trail over the edge are easy, fun and quick to make.
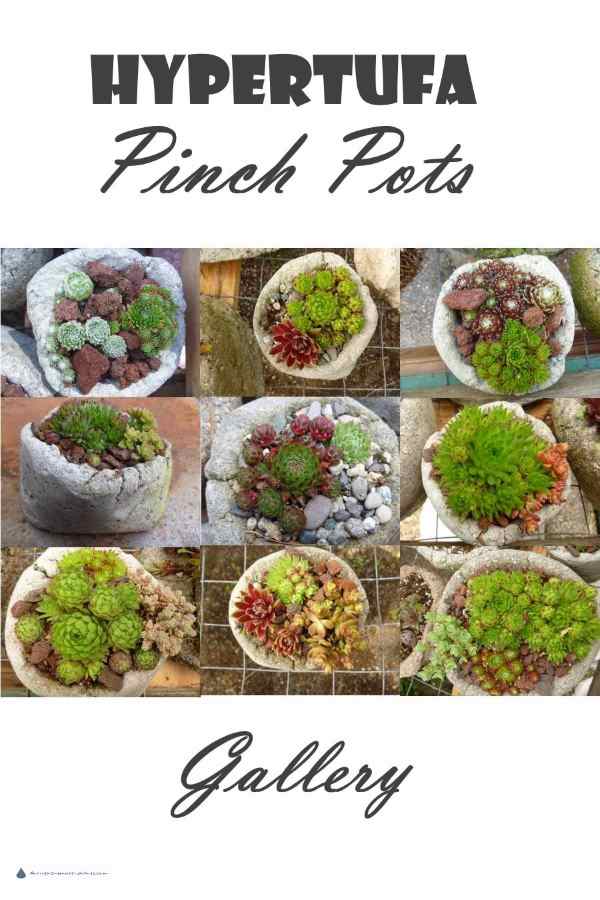
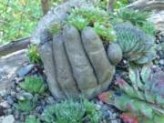
Planted with some jewel like rare hardy succulents or alpine plants they are a really charming accent for rock walls or in a collection of containers for succulents.
Their rustic appearance combined with the solid construction adds another dimension to what might otherwise be a tame and uninspired grouping.
Display in combination with terracotta clay pots, root planters and other rustic salvage for an eclectic and unusual container garden.
How to make Hypertufa Pinch Pots
Make hypertufa from the recipe and see the entire Hypertufa Pinch Pots tutorial on this page.
- Have on hand surgical gloves and several sizes of used (but clean) Ziploc bags.
- Depending on the size of the Ziploc bags, take a handful or two of the hypertufa mix, placing it inside the bag.
- Using both hands with thumbs to the center, gradually press the lump into the bag, making a depression in the middle. Deepen the depression until the mix is fully into the corners of the bag.
- Make a hole carefully into the bottom, going through the hypertufa mix.
- Leave your pinch pot to dry for at least a few days. The bag can be cut off or peeled away from the pinch pot.
- Use coarse grade sandpaper or a wire brush to take off any burrs, and allow the pot to dry completely.
- Some hypertufa crafters immerse the finished and dry pots into a bucket or container of water to cure it.
- After the hypertufa pinch pots are completely cured, you can put a small amount of soil mix in and plant your selected plants. The soil mix must be well drained – use an equal amount of sterilized potting soil and pumice or perlite.
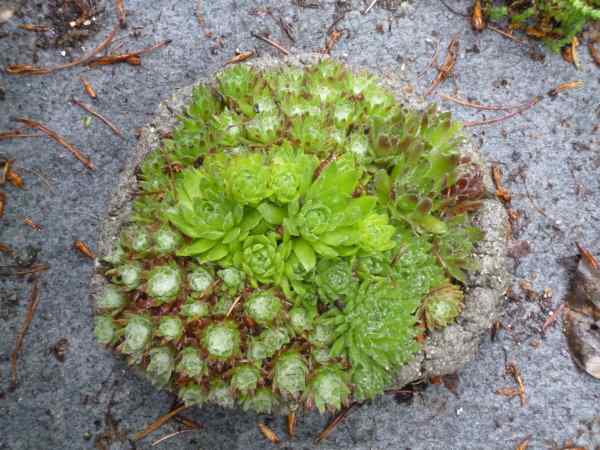
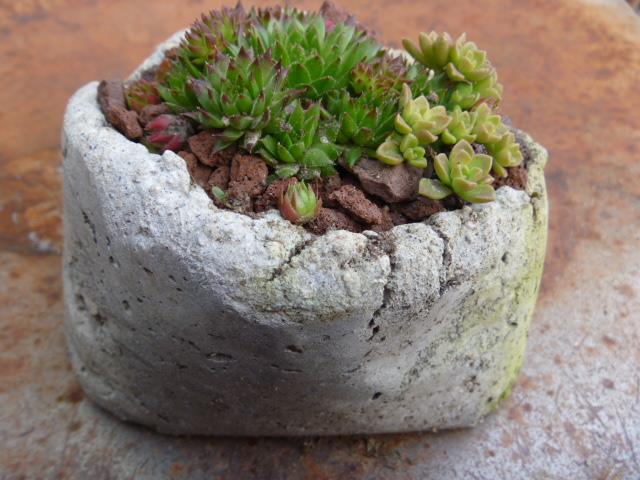
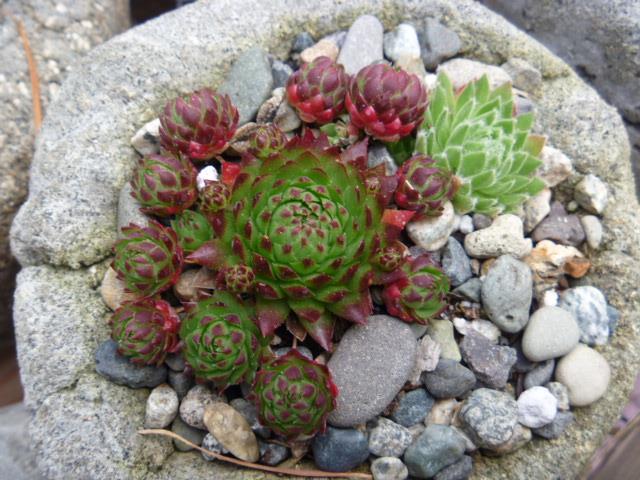
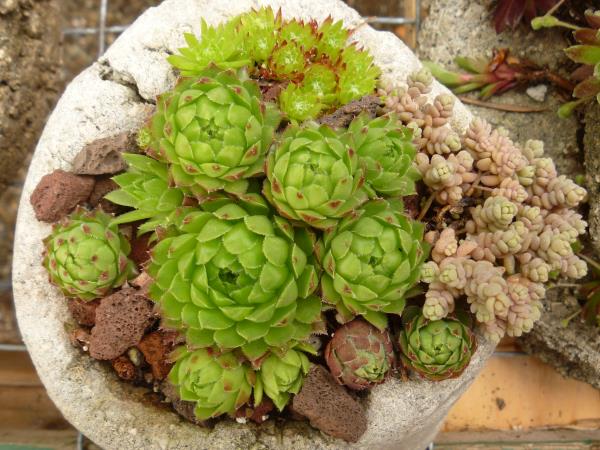
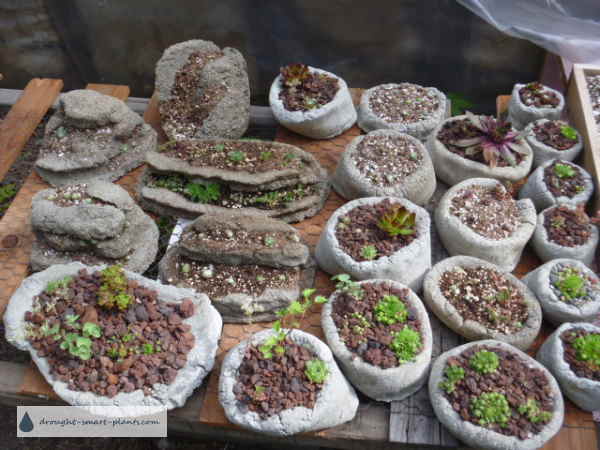
Click on the images below to see these gorgeous gem-like pots in a larger size;
Each is unique, each has different tiny plants in, growing at different rates depending on their characteristics.
They are mulched with pebbles, lava rock or other small mineral mulch to keep the moisture levels more even.
They only hold about a cup or two of soil; plant choice is crucial.
Need Some Supplies For This Project?
Wondering What to Plant in Your Hypertufa Pinch Pots?
The best choices of plants for these exquisite little planters are Sempervivum arachnoideum, which can reach only about 2cm across (half an inch), Jovibarba species such as Jovibarba sobolifera, and some of the tiny Sedum such as Sedum pluricaule, Sedum album ‘Faro Form’ and many others.
Look for those species and varieties that are small in stature from the Sedum for Containers page.
Moss also makes a charming plant in tiny containers – a perfect choice for the rustic appearance of hypertufa pinch pots.
Bonsai will also like these for the excellent drainage and shallow root run. Try some Sedum populifolium pruned into a bonsai shape, or even Crassula argentea, the jade tree for a tender succulent option.
Winter Care for Your Hypertufa Pinch Pots
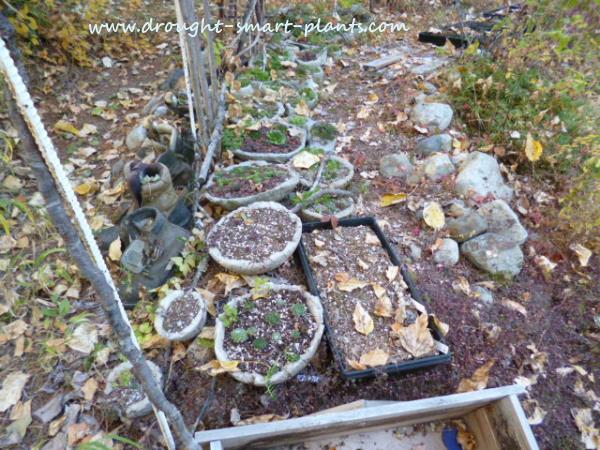
For the winter, as many plants won’t be hardy out of the ground in extreme temperatures, heel the whole pot into a leaf pile or garden bed to be unearthed once spring comes again. If your winter temperatures seldom go below freezing, you can safely ignore this recommendation.
This method will also protect the pot itself from freezing solid and possibly cracking.
Another option is to take the plants out and heel them in separately, and store the pot in a dry area until spring, when you can re-plant with the same or different plants.
Wanting more of this kind of information about Hypertufa? Buy the Manual!


